Introduction
The construction world is evolving rapidly, with materials like gypsum boards and MGO panels leading the way in both residential and commercial projects. Understanding gypsum board installation and MGO panel installation techniques is critical to achieving durable, fire-resistant, moisture-proof, and aesthetically pleasing results.
This comprehensive guide will cover everything you need to know: preparation, tools, installation steps, expert tips, and common mistakes to avoid. Whether you’re a contractor or a DIYer, this guide will elevate your next project.
Understanding Gypsum Boards and MGO Panels
Gypsum boards (also called drywall or plasterboard) are lightweight panels used mainly for interior walls and ceilings. They offer a smooth finish and are cost-effective.
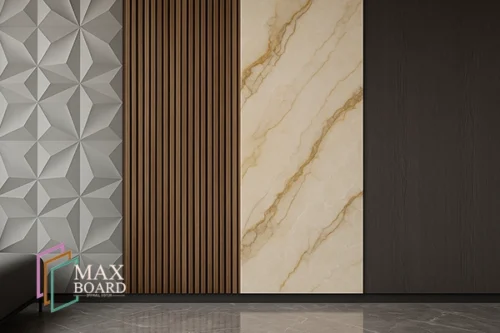
MGO panels (Magnesium Oxide boards) are advanced construction panels made from natural minerals. Known for superior fire resistance, moisture tolerance, and environmental friendliness, they’re ideal for high-performance applications.
Benefits of Gypsum Board Installation
- Lightweight and easy to handle
- Quick to install with minimal tools
- Smooth finish for paint or wallpaper
- Affordable and widely available
- Good sound insulation when combined with acoustic systems
Benefits of MGO Panel Installation
- Non-combustible and fire-resistant
- Highly moisture- and mold-resistant
- Environmentally friendly (no VOCs or asbestos)
- Superior impact strength
- Suitable for both interior and exterior applications
Tools and Materials Required
For Gypsum Board Installation:
- Measuring tape
- Utility knife
- Drywall saw
- Screwdriver or drill
- Drywall screws
- Joint tape
- Joint compound
- Sanding block
For MGO Panel Installation:
- Circular saw with carbide blade
- Impact driver
- Corrosion-resistant screws
- Sealant
- PPE (gloves, goggles, mask)

Step 1: Planning and Surface Preparation
For both gypsum board installation and MGO panel installation, proper planning is key.
- Check framing alignment (16” or 24” on center)
- Clean the work area
- Identify electrical, plumbing, or HVAC penetrations
- Mark layout lines on studs and walls
Step 2: Measuring and Cutting
- Measure panels precisely.
- For gypsum boards, score with a utility knife, snap, and clean the edges.
- For MGO panels, use a circular saw with a carbide blade for clean cuts.
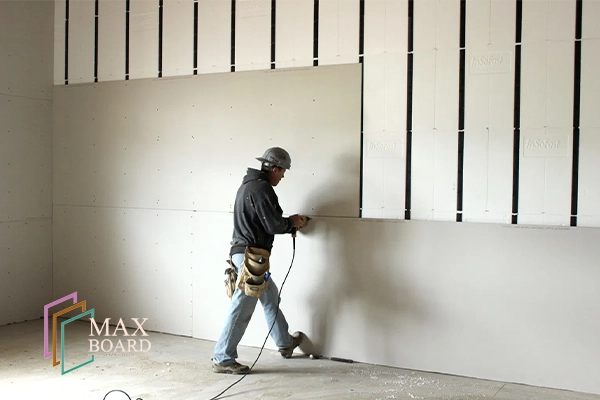
Step 3: Installing the Panels
Gypsum Board Installation
- Hang boards horizontally or vertically depending on room design.
- Use drywall screws at 12” spacing along studs.
- Stagger vertical joints for strength.
- Leave a ¼-inch gap at floors and ceilings.
MGO Panel Installation
- Pre-drill holes near panel edges.
- Fasten panels with corrosion-resistant screws.
- Leave a 3–5 mm expansion gap between panels.
- Apply manufacturer-recommended sealant for weather resistance.
Step 4: Taping and Finishing
Gypsum Board Installation
- Apply joint tape over seams.
- Use joint compound to cover seams and screw heads.
- Let dry, sand smooth, and apply second and third coats as needed.
MGO Panel Installation
- For interior use, seal joints with appropriate compounds.
- For exterior applications, use a breathable membrane and flashing tape.
Step 5: Final Touches
- Prime the surface before painting or wallpapering.
- Check for dents or scratches and repair.
- Clean the workspace thoroughly.
Expert Installation Tips
- Wear PPE at all times.
- For ceilings, install gypsum boards perpendicular to joists.
- Store MGO panels flat to prevent warping.
- Use long screws for double-layer walls.
- Always follow the manufacturer’s guidelines for MGO panel installation.
Common Mistakes to Avoid
- Overdriving screws, damaging the board
- Failing to stagger joints
- Skipping the primer
- Using the wrong sealant on MGO panels
- Ignoring manufacturer specifications

Applications and Use Cases
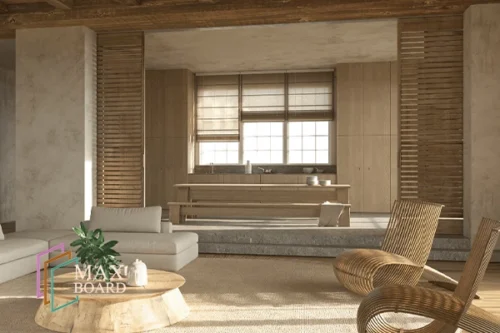
Gypsum Boards
- Residential: bedrooms, living rooms, hallways
- Commercial: offices, schools, retail stores
- Ceilings and partitions
MGO Panels
- Fire-rated walls in hospitals, hotels, and commercial buildings
- Moisture-exposed areas like kitchens and bathrooms
- Exterior cladding
- Modular construction
Comparison Chart
| Feature | Gypsum Board | MGO Panel |
|---|---|---|
| Fire Resistance | Basic | Superior (non-combustible) |
| Moisture Resistance | Low (unless treated) | High |
| Ease of Cutting | Easy with knife | Needs special blade |
| Environmental Impact | Moderate | Low, eco-friendly |
| Cost | Lower | Higher upfront, long-term savings |